We're not very good at dealing with snow here in the Bellingham area, and consequently I'm on snow day number two and looking ahead to snow day number three and an early start to Christmas break tomorrow. Ah, the joys of teaching... or not teaching as it were.
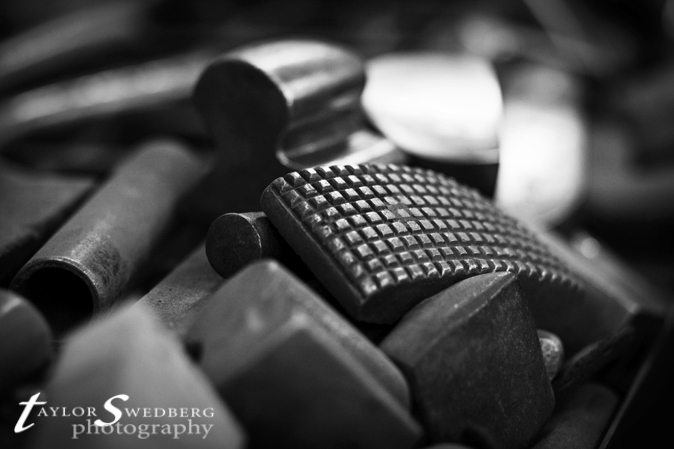
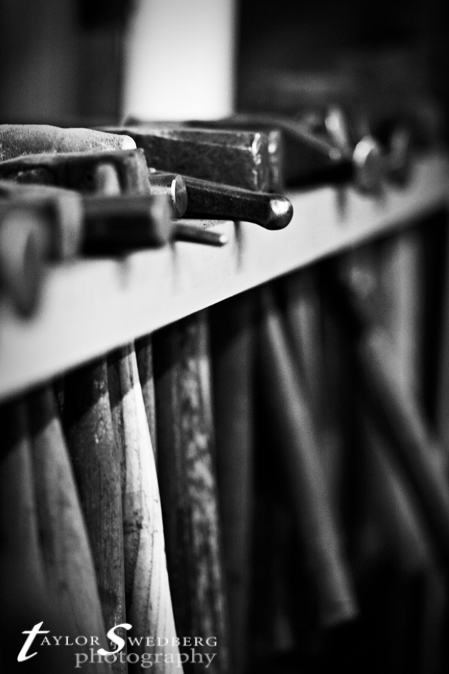
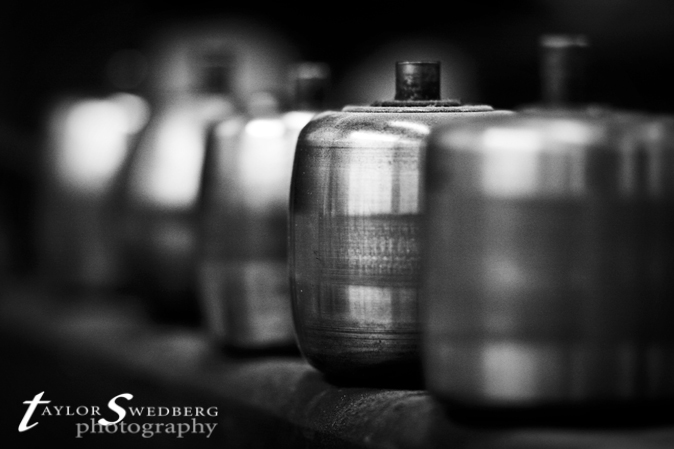
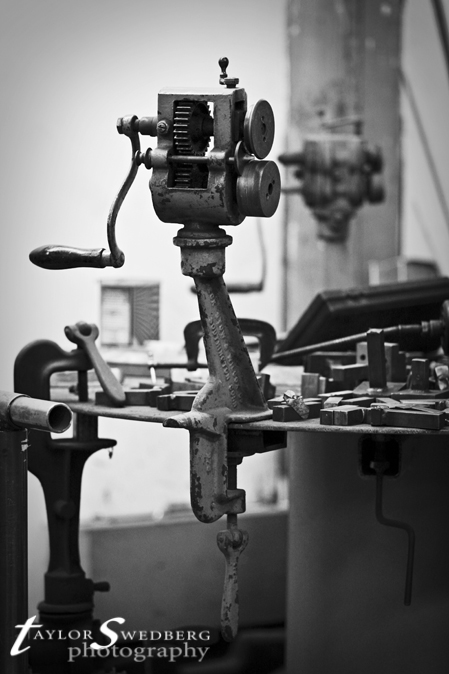
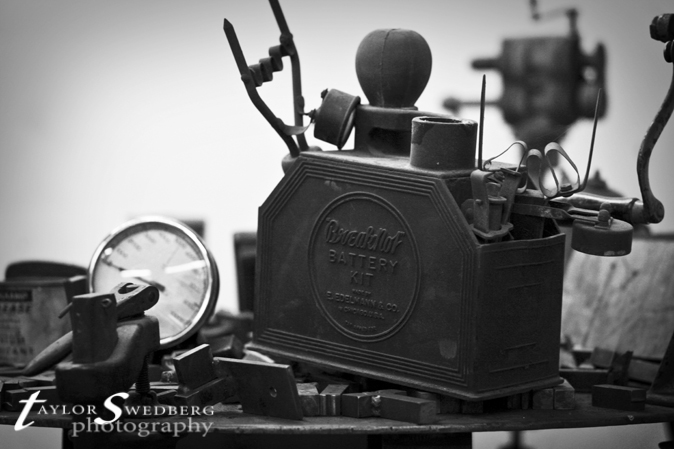
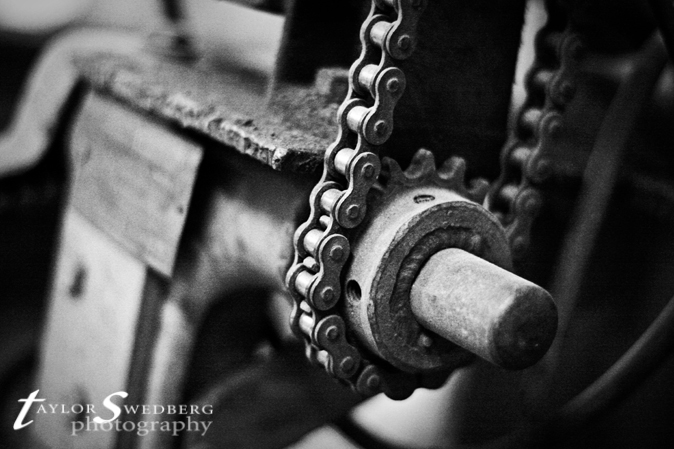
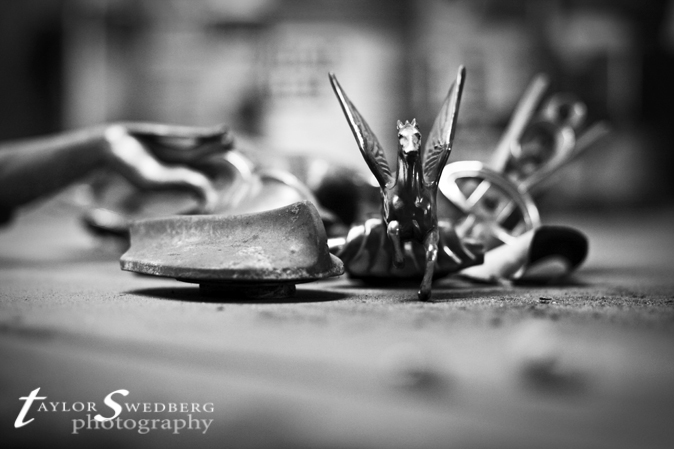
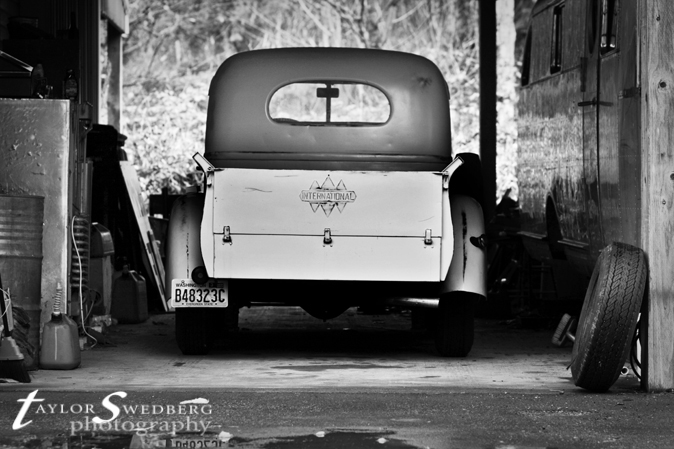
Anyway, the snow has given me an early break from Taylor Swedberg Teaching, and allowed me time to spend with Taylor Swedberg Photography. I've been looking through some images I haven't had time to edit and post in the past, and I decided to share some art images I captured with my dad in his shop. There is endless opportunity for finding textures and strange artifacts my dad has collected over his lifetime. It was a fun morning, and here are some of the fruits.
Thursday, December 18, 2008
Wednesday, December 17, 2008
How to Take Pictures in the Snow
It's snowing here in the Bellingham area, and Mindy and I have a snow day today so I thought I would take a break from wedding photography and family portraits to very simply explain two methods for taking good pictures in the snow with a point and shoot digital camera.
1) If your camera has a "snow" setting, use it.
2) If your camera doesn't have a "snow" setting, find the button that looks something like "+/-". It is called exposure compensation and it might be a button on your camera, but it is likely a menu item you need to find. When you have found the +/- icon, move the marker from 0 to +2.
 This is a picture I took from my front porch this morning with no adjustments. Notice the gray cast to the snow. This happens because the camera's meter automatically looks for middle gray. Usually this is fine, but in a picture with an inordinate amount of white, the camera underexposes the picture in order to expose the picture as a whole to a middle gray. However, in this case, we don't want what the camera thinks is right, we want white snow.

In this next picture I pushed the exposure compensation (+/-) all the way up to +2. Notice how white the snow looks.
 In this final picture, I dropped the exposure compensation from +2 to +1.5. It's a bit darker, and I think a bit too dark. At this point, I am just experimenting with different amounts of exposure compensation and then checking the screen on the back of my camera until I have snow that matches the color of the actual snow in front of me.
In this case, I would go with the photo taken at +2 because the snow looks about right to me in that picture. I hope this helps, and happy shooting!
1) If your camera has a "snow" setting, use it.
2) If your camera doesn't have a "snow" setting, find the button that looks something like "+/-". It is called exposure compensation and it might be a button on your camera, but it is likely a menu item you need to find. When you have found the +/- icon, move the marker from 0 to +2.
Here are all the boring details:
 This is a picture I took from my front porch this morning with no adjustments. Notice the gray cast to the snow. This happens because the camera's meter automatically looks for middle gray. Usually this is fine, but in a picture with an inordinate amount of white, the camera underexposes the picture in order to expose the picture as a whole to a middle gray. However, in this case, we don't want what the camera thinks is right, we want white snow.
In this next picture I pushed the exposure compensation (+/-) all the way up to +2. Notice how white the snow looks.
 In this final picture, I dropped the exposure compensation from +2 to +1.5. It's a bit darker, and I think a bit too dark. At this point, I am just experimenting with different amounts of exposure compensation and then checking the screen on the back of my camera until I have snow that matches the color of the actual snow in front of me.
In this case, I would go with the photo taken at +2 because the snow looks about right to me in that picture. I hope this helps, and happy shooting!
Subscribe to:
Comments (Atom)

